It's another bird post. I'm at risk of an intervention, I know, but I have to show you how I (re)made this lamp.

I've done a couple of projects using this same process.
This one...
 |
| Click on the picture to see the details |
And this one...
 |
| Click on the picture to see the details |
It's fast. And pretty easy.
I'll show you again if you missed the other tutorials...

Color, circa 1987? Shade, a little too shabby to be Chic?

After a good sanding and a nice coat of creamy white spray paint it was looking pretty good.

I found these gorgeous birds at The Graphics Fairy, printed them out on card stock and carefully cut them out. I like using card stock for decoupage projects. It's easy to control. It doesn't wrinkle up when you hit it with a little Mod Podge and there's no curling up and rolling away.

I played around with the placement of the birds. I wish I could remember to do this before I paint on the limbs but, well, that would be someone else's blog, now wouldn't it?

I have a nice assortment of Plaid paints I used for the limbs and leaves. I get good coverage and I love the millions of colors.

I used Mod Podge (which I called Hodge Podge for years....sorry Plaid) to attach the pretty birds. I brushed a good heavy coat on the back, pressed it onto the lamp, then brushed some on the front of the paper as well.

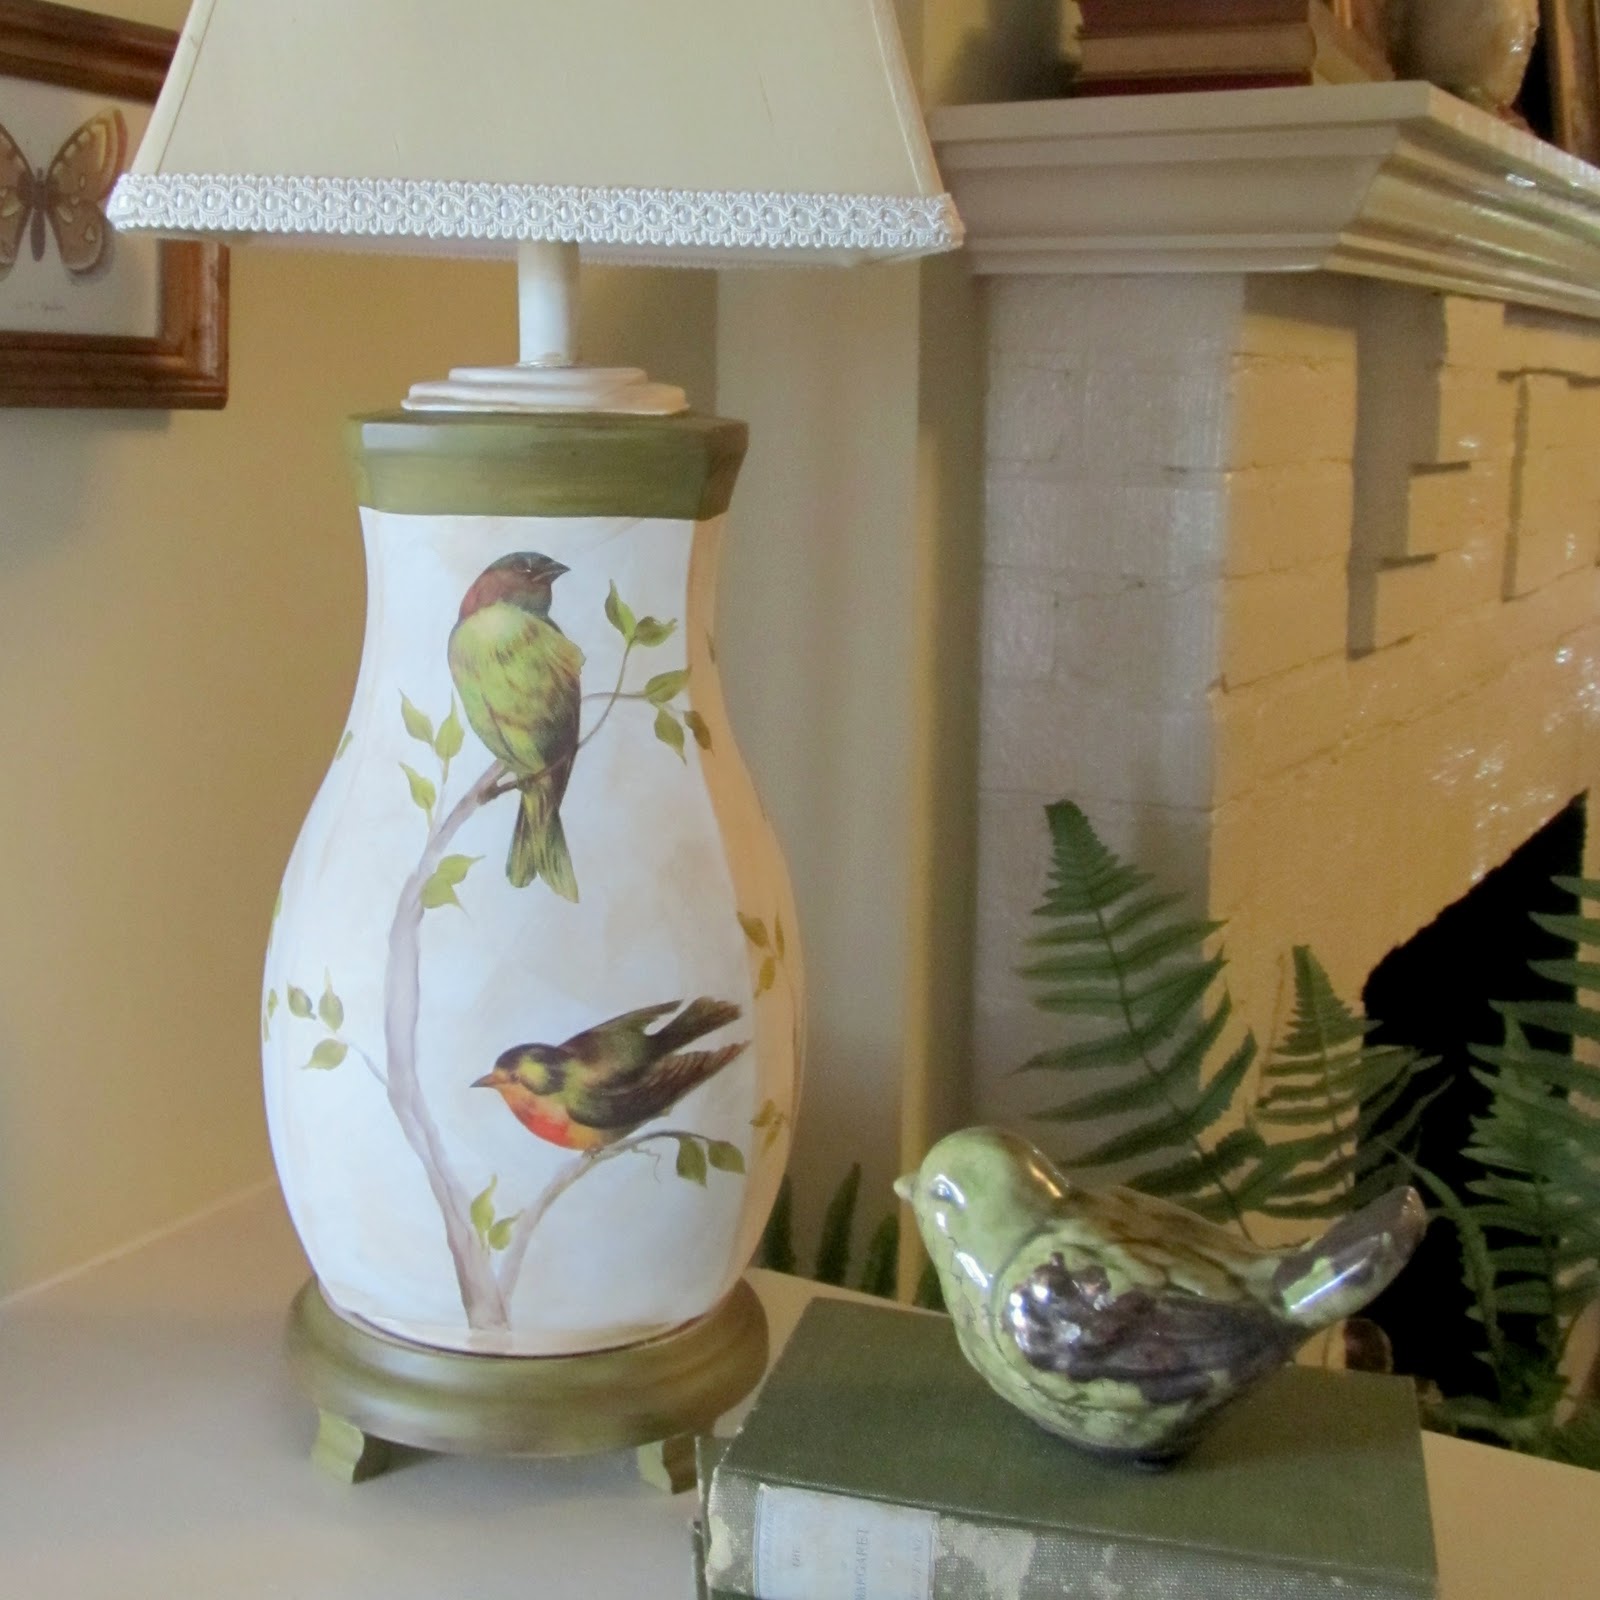
I washed the entire lamp with watered down brown paint for an aged look. A good coat of clear spray paint, a little lamp shade love and there you have it -- another bird project because you just can't have too many of 'em.