Showing posts with label Craft Projects. Show all posts

Saturday, May 28, 2011

Fun Printed Lunch Bags


As boring as a brown paper bag?  Not in my world.

***

I've been making my brown paper bag baskets and delivering eggs in them for a couple of years.  For a more personalized look (and to identify who they're from when left on someones front steps) I thought about stamping me some but then decided to try printing them on my printer instead. 

And why not add a little something fun to the lunch hour as well? 


Oh my gosh -- I love this idea.  Karen at The Graphics Fairy has a million crazy cute graphics (for free) that would make perfect lunch companions.  I picked one of these...


...and made this adorable lunch bag for my someone special.


It wasn't too hard, either.  I changed my paper setting to 5"x10.5" -- the same as the bag.  The printer ate the first three.  Then I got brave enough to stick my hand in with the bag to guide it and, snap, it worked.  I still lost a few but for the most part, they came out perfect.  Just hand feed them, one at a time.


Warning:
I'm not really telling you to stick your hand in your printer -- I'm just telling you I did and I didn't feel a thing.


***

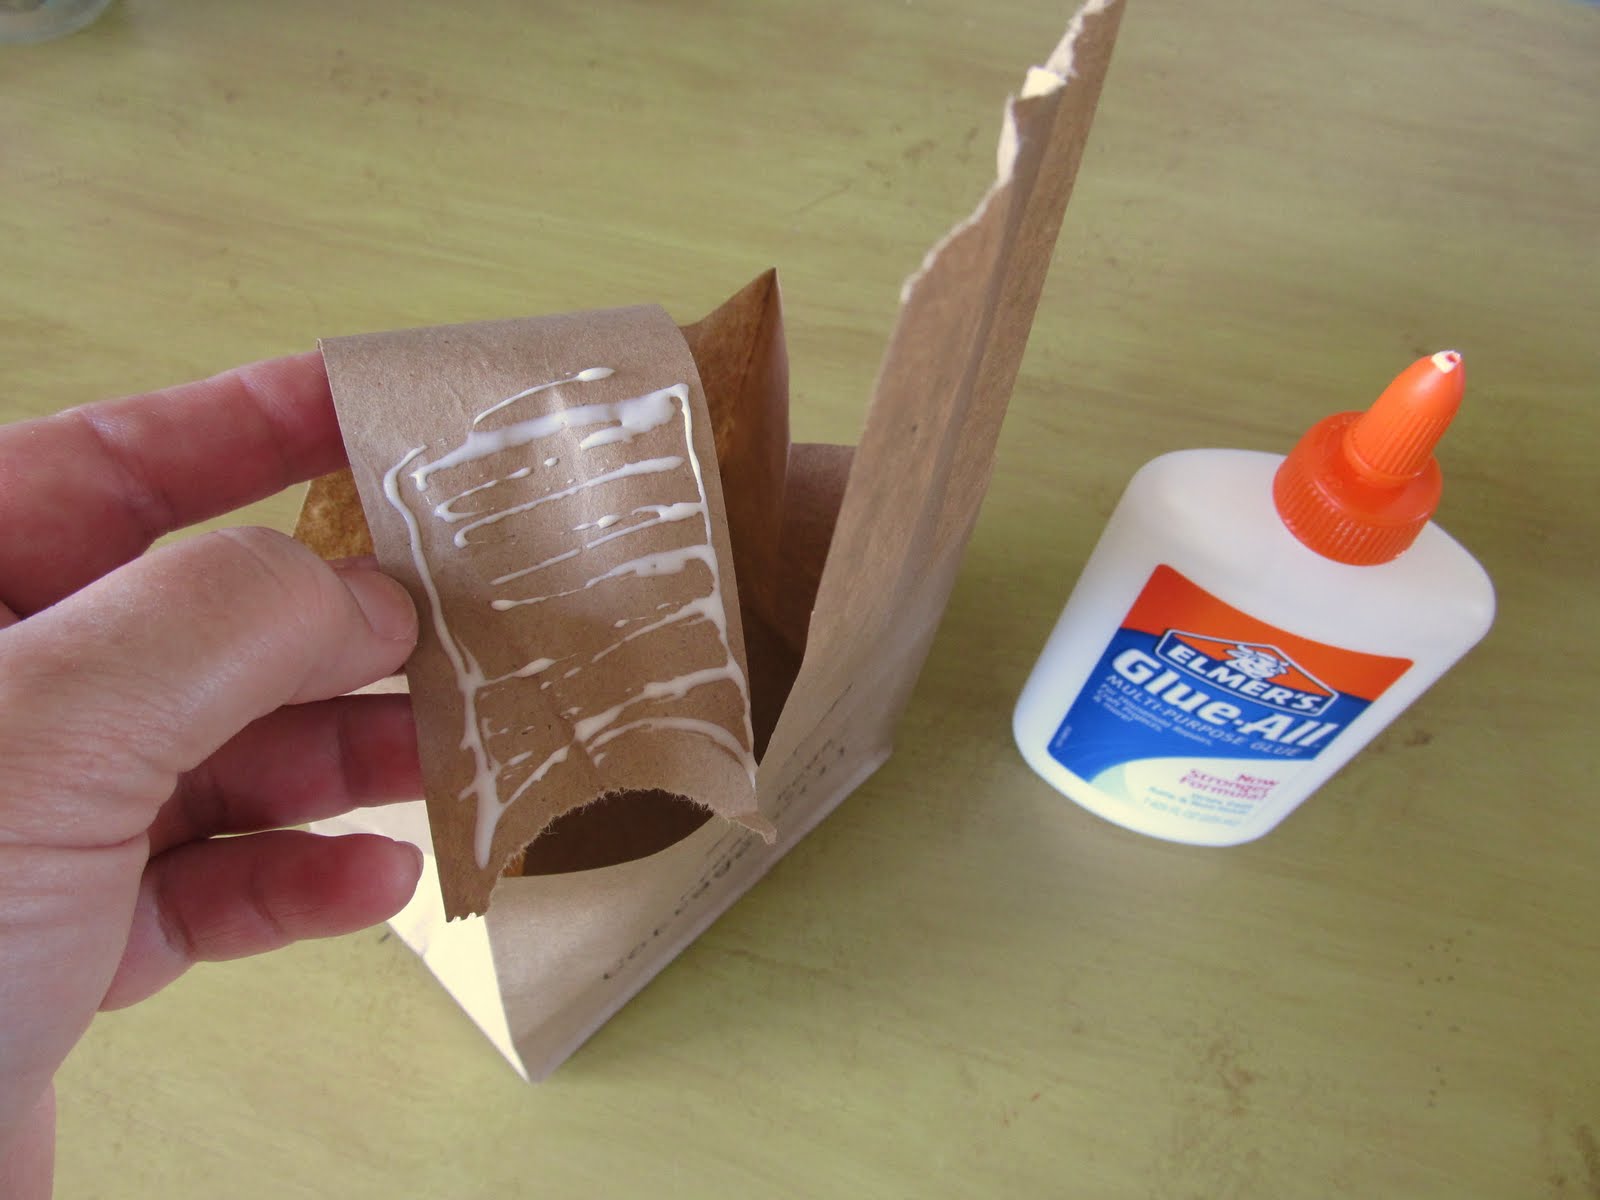
Here's how I make my little egg baskets...


So, how fun are these?


I can think of a million ways to use this idea -- how about you?


Come join the party @


If you enjoyed this post (and, gosh, I hope you did) please BECOME A FOLLOWER!

Wednesday, May 4, 2011

Ballard Bird Knock-offs (with printable pattern)


I "borrowed" this idea from Ballard Design.  I hope they don't mind...


Ballard Design


Lindy Design

 ***


I love these vintage frames. They are two (in one) of the ten projects I'd hoped to finish...well....soon. 


I can't imagine how anyone could let them go for such a low price -- just $4  for both.  I can't imagine how anyone could let them go, period. But, hey, it works for me.


To make the paper I cut the birds from, I found a description of a mockingbird online and cut and pasted it into a Word document several times to cover the entire page.  I changed the font to Arabic Typesetting, the size to 14pts, the type to white, the background to black, then printed it out on cardstock.  


I didn't throw up over this step but I came close.  This took an enormous amount of printer ink, I'm sure!!! The up side was it came out looking just like theirs, yes?

Using this pattern...


I cut the birds from my "special" paper and, using Mod Podge, glued them in place. 
My details were painted on with a tiny brush but I think you could just use a fine marker if you wanted.


Perfection!

I'm hooking up...


If you enjoyed this post (and, gosh, I hope you did) please BECOME A FOLLOWER!

Thursday, April 28, 2011

Vintage Overnight Case Turned Doll Trunk

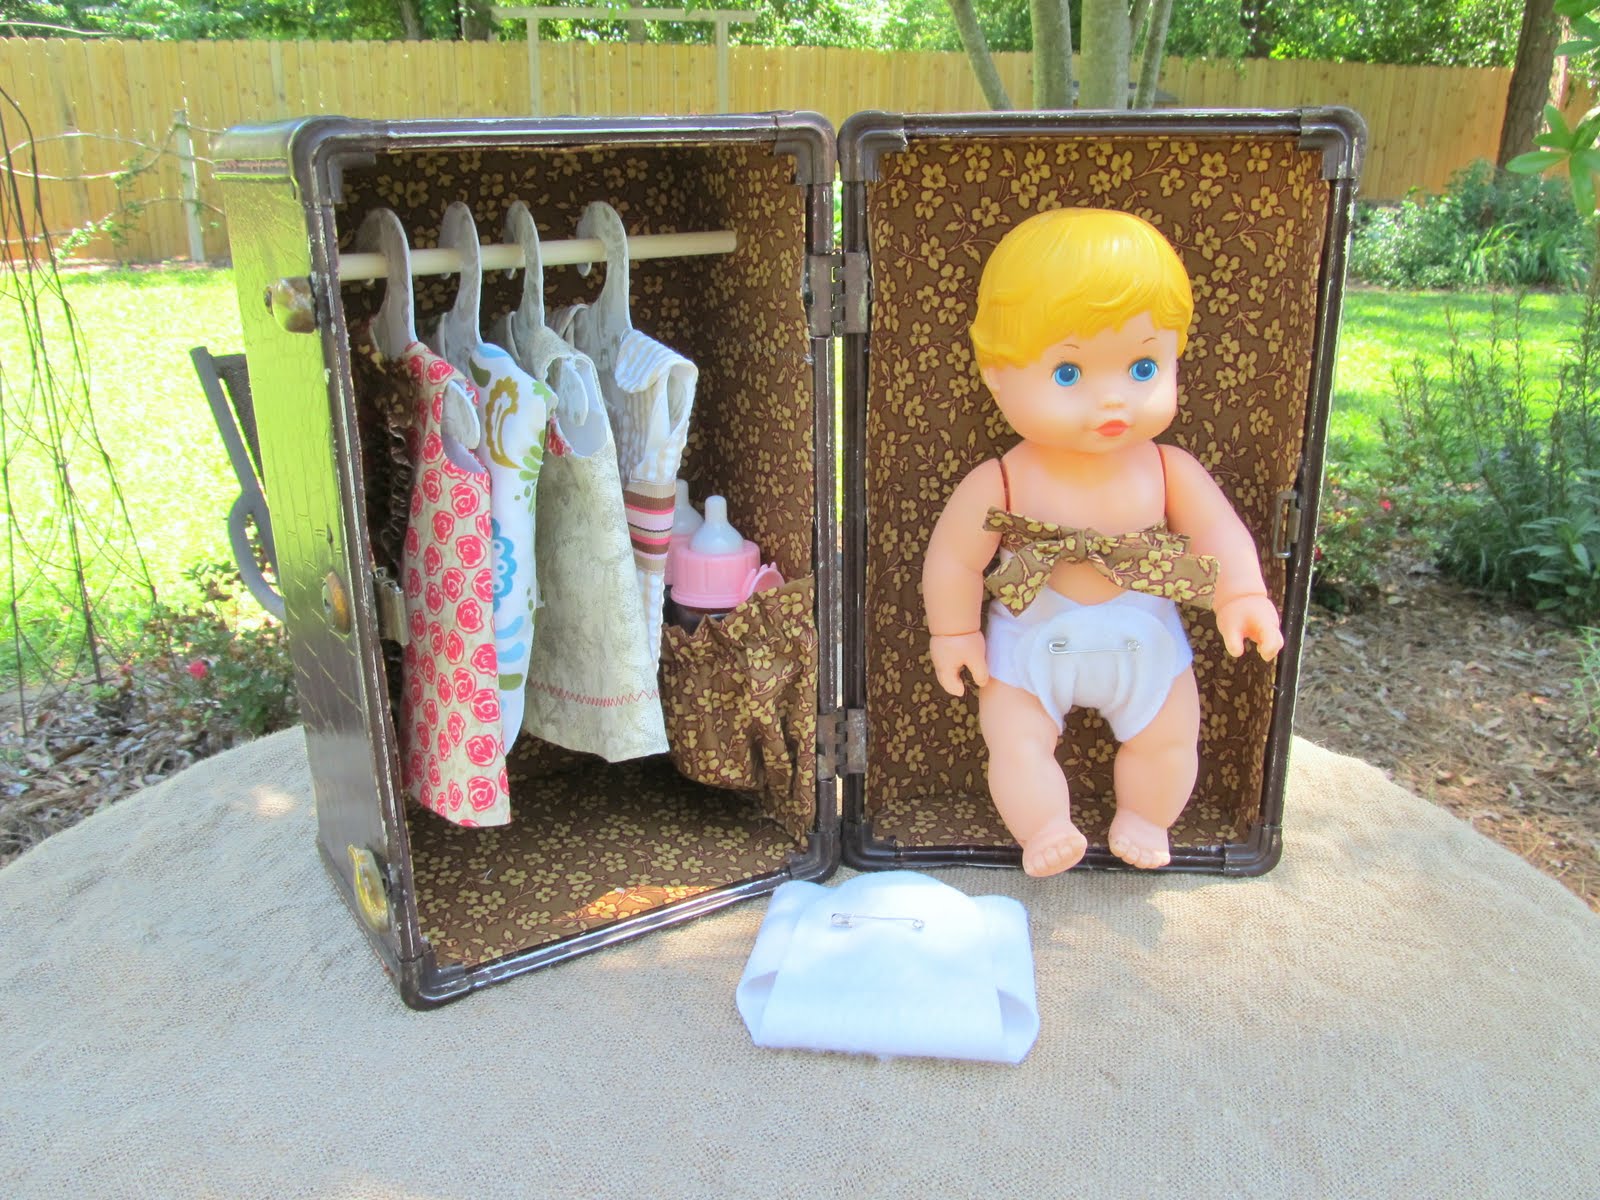
My grandtwins, Aubrey and Chloe, have a birthday coming up.  Because I always make them something, I decided to use the overnight case (the third of my, maybe a little too ambitious, 10 projects in 3 weeks) to make them a trunk for a 1970's doll I found and for the doll clothes I made the poor little naked thing.


I'll have to find second suitcase.  I predict a cat-fight over this one.  I'll be ready with my video camera, though, just in case they stage a Youtube worthy brawl that'll make us all instant millionaires.  

Before they were infamous...


The doll and trunk were the perfect size for each other.  I love it when that happens.  A good bath was all the baby needed but the suitcase was a very different story.  


The outside of the case was in almost perfect condition and just needed a good cleaning and some furniture polish to liven it up.  It turned out awesome...


But, the inside was just plain nasty. I ripped the guts out  and re-lined it with a really cute vintage-y looking fabric.


This was a little tricky.  Not hard, really, just tedious.  Poster board was cut to fit then covered with the fabric using spray adhesive and white glue.  


The fabric was stitched to the poster board to help it stay put.


I added a little pocket for storage, the ties to hold the baby in place and a bar for hanging doll clothes. 


If you enjoyed this post (and, gosh, I hope you did) please BECOME A FOLLOWER!

Monday, April 18, 2011

10 Projects in 10 Days

Yeah right!  Sounds good but no way is it going to happen.  
You know it.  I know it.  The paint on the wall knows it...


But how about 10 projects in 21 days?  That sounds doable.  And just look at these great finds!  After an awesome bargain hunting Saturday I paid less than $20 for all of them! 

I'm giving myself just 3 weeks to finish all of these projects and post about them.  
Some are simple.  Others?  Not so much.

*

So who's going first?  The cute little McCoy planter raises its hand...


I love the shape of this planter with its curvy little handle.  The color is perfect, too.  I was over that chip on the front edge as 
soon as I saw the price --50 cents!

This was one of the easiest of the projects.  
All it needed was a plant and a photo op. 


I lined the inside of the planter with a heavy duty zip lock bag cut to fit, filled it with potting soil and tucked in some ivy I rooted in my kitchen window.


One down -- nine to go!


I AM INSPIRED.


If you enjoyed this post (and, gosh, I hope you did) please BECOME A FOLLOWER!