Showing posts with label Tutorials. Show all posts

Saturday, May 28, 2011

Fun Printed Lunch Bags


As boring as a brown paper bag?  Not in my world.

***

I've been making my brown paper bag baskets and delivering eggs in them for a couple of years.  For a more personalized look (and to identify who they're from when left on someones front steps) I thought about stamping me some but then decided to try printing them on my printer instead. 

And why not add a little something fun to the lunch hour as well? 


Oh my gosh -- I love this idea.  Karen at The Graphics Fairy has a million crazy cute graphics (for free) that would make perfect lunch companions.  I picked one of these...


...and made this adorable lunch bag for my someone special.


It wasn't too hard, either.  I changed my paper setting to 5"x10.5" -- the same as the bag.  The printer ate the first three.  Then I got brave enough to stick my hand in with the bag to guide it and, snap, it worked.  I still lost a few but for the most part, they came out perfect.  Just hand feed them, one at a time.


Warning:
I'm not really telling you to stick your hand in your printer -- I'm just telling you I did and I didn't feel a thing.


***

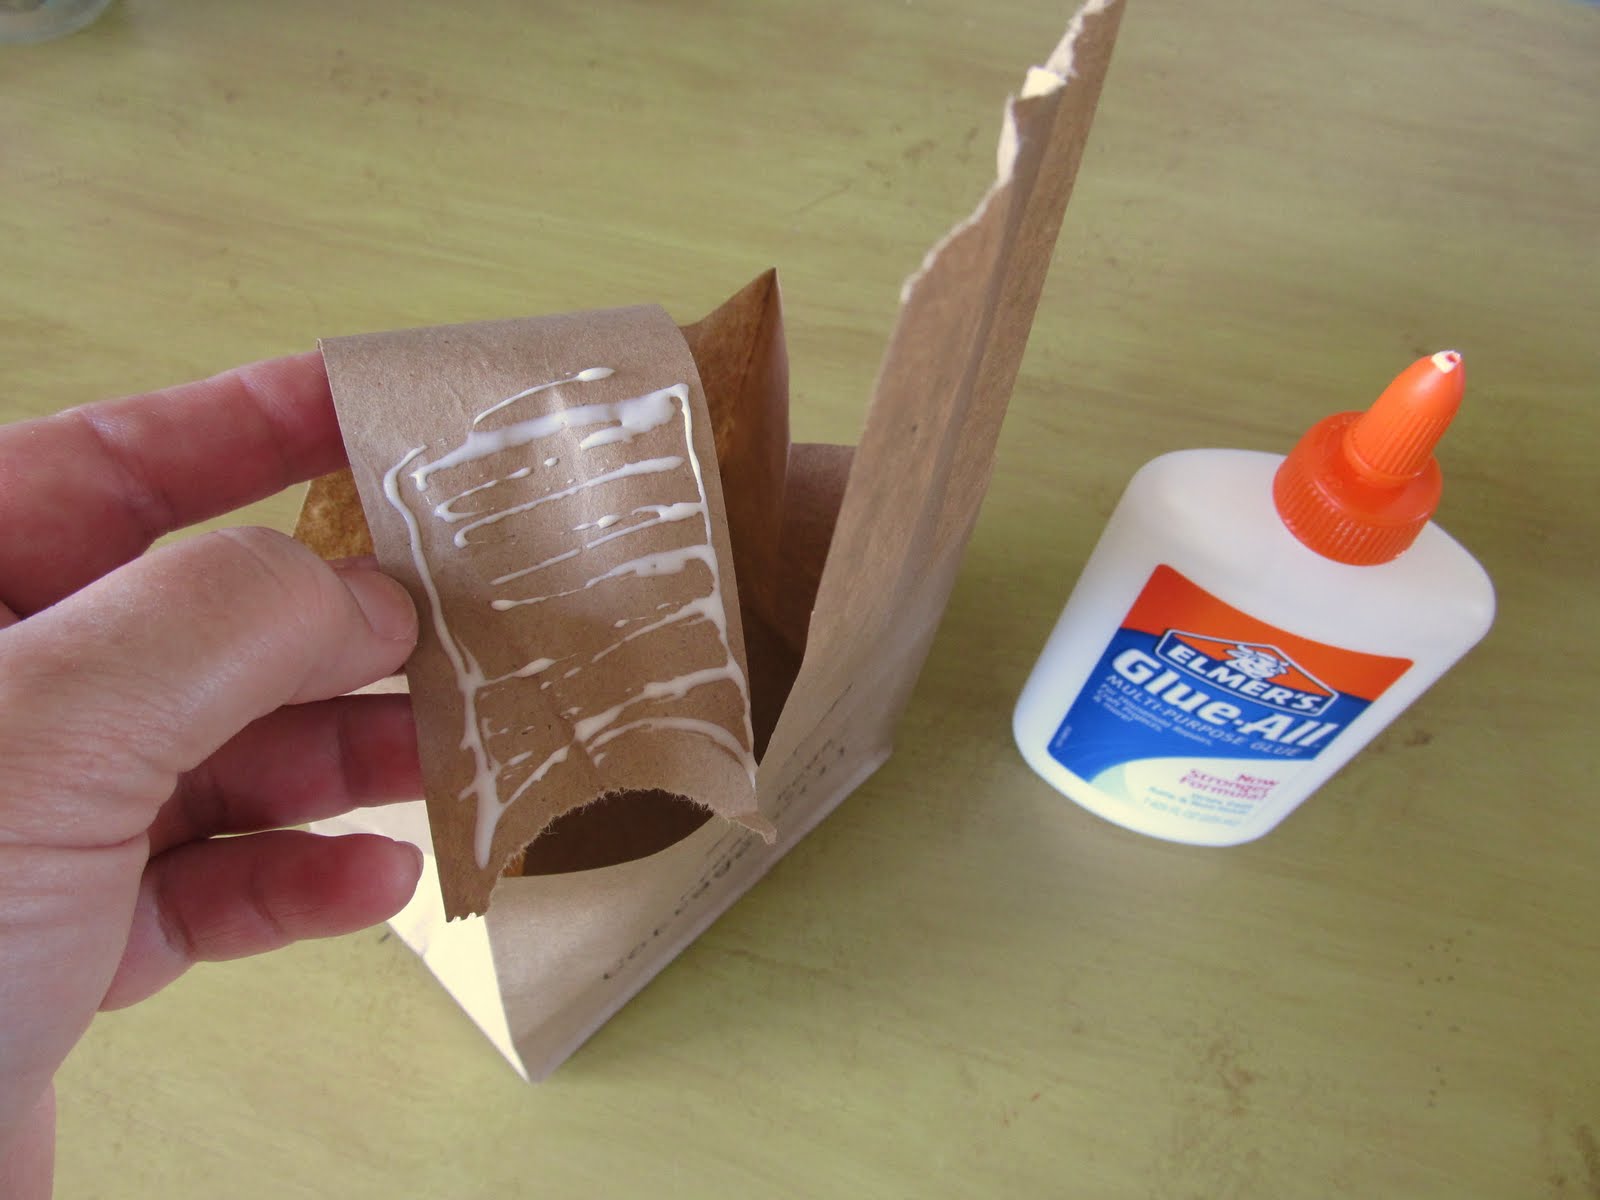
Here's how I make my little egg baskets...


So, how fun are these?


I can think of a million ways to use this idea -- how about you?


Come join the party @


If you enjoyed this post (and, gosh, I hope you did) please BECOME A FOLLOWER!

Friday, May 13, 2011

Vintage Style Hanging Light


I'm trudging along...working on my list of 10 projects.
This one is #8.  Feels like #800, but no, it's just #8. I'm counting.

 I plan to hang this baby in my TV room where it's needed for reading.  My floor lamp just bit the dust.  It started turning itself on.  Clearly that was not a good sign.  

So, this skeleton of a light (I had no idea what to do with it when I bought it) is now the perfect replacement.  It still needs to be rewired but for that,
I'll need a professional. 
I was inspired by the hanging light in this room, my favorite picture ever -- except for maybe my kids.


Now I have one of my very own.
***

I started with this pitiful excuse of a hanging light fixture.  I got it for a couple of dollars because it was missing a glass globe and was in need of rewiring.


I was busy looking for a replacement globe when I decided to try a cloth shade I already owned. 
I loved the look but it was stained...


Solution.  Strip it naked and give it a new outfit.  One that's a little more fun.


I used pre-washed burlap and the old shade cover for a pattern.  I hemmed the top and bottom and stitched jute along the edges to tie it on.  


The plate that held the original glass in place was oversized and perfect for keeping the wire shade snug and straight.  It will also help soften the light coming from the bottom of the shade -- great for a reading lamp!


I'm in love....


...with an inanimate object.  Again.

***

BTW, I'll be partying here...


If you enjoyed this post (and, gosh, I hope you did) please BECOME A FOLLOWER!

Tuesday, May 10, 2011

Mercury Glass Candy Dish and a Project Update

I admit it.  

I have fallen down and blackened my eye when it comes to my plan to complete ten thrifty projects in 21 days.  I'm not even going to count the number of days I'm over my goal.  I'm not all that into kicking myself when I'm down...

Life got in the way and all I could do was let it.


 I'm back today, though, posting two more of the promised projects so I could X them off.  Number 7 could be marked off, too, because I've decided to make a couple more of the Trompe L'oeil Grandfather Clocks for my Etsy store and I have to save them for that...


 ***
I bought the vintage glass for 50 cents to add to my already too big collection of containers I use for cut flowers.  I think it was a jelly jar in a past life.

This is my favorite type of container -- the kind that doesn't take a boat load of flowers to fill 'em up.


Isn't it sweet?  The flowers are fresh from my backyard.


Then there was the candy dish in need of a little jazzing up.


I've seen some great tutorials for 
DIY mercury glass so I gave it a try.  

            1. Tape it off
            2. Spritz with water -- easy does it
            3. Spray paint the inside of the container


 This was super easy.  The hardest part was getting the cap off of the spray paint.  

Too solid...

Much better...


I did think it looked a little too "solid" so I took some packing tape and lifted a little of the paint off with it after everything was dry.


More tomorrow -- I promise!


Look who I'm linking up with...


    Tip Junkie handmade projects  Childmade    Passionately Artistic The Trendy Treehouse  lil luna button My Backyard Eden  A Crafty Soiree Party Button Suzy's Artsy Craftsy Sitcom Somewhat Simple IhookedupwithHoHlamespice      Photobucket Photobucket 


If you enjoyed this post (and, gosh, I hope you did) please BECOME A FOLLOWER!