Showing posts with label DIY. Show all posts

Thursday, June 2, 2011

Rustic Trunk from Salvaged Wood


I'll spare you the picture of me butt-up and knee-deep in our local landfill but I will promise you if you ever get a chance to dig around in one -- you'll be hooked!


I was when I found this pile of heart pine wood on my very first trip.  Crystal ball...I see a second trip in my very near future.  

The 1x6's were clean and pretty clear of nails.  I'm saving them for my next "big" project -- a powder room addition.  They'll make a beautiful, free ceiling treatment for the tiny room.  

The 1x12's were nasty and riddled with holes.  They looked like they had been involved in a shoot-out with a nail gun in which they'd barely survived.  


We call that "character" in these parts...


I needed a(nother) storage spot for fabric in the guestroom where I sew so I just ignored all the negatives and carried on -- just like the sign says.


The construction was very basic.  I added a stencil, applied randomly using stain, to add a little "something, something" to the basic box look.


I have to tell you about the quilt I plan to leave folded on the trunk.  It's vintage, was a $10 find, and it has only one loose seam. 


Oh, and it's amazing!!!

***
I'll be linking up here...


If you enjoyed this post (and, gosh, I hope you did) please BECOME A FOLLOWER!

Saturday, May 28, 2011

Fun Printed Lunch Bags


As boring as a brown paper bag?  Not in my world.

***

I've been making my brown paper bag baskets and delivering eggs in them for a couple of years.  For a more personalized look (and to identify who they're from when left on someones front steps) I thought about stamping me some but then decided to try printing them on my printer instead. 

And why not add a little something fun to the lunch hour as well? 


Oh my gosh -- I love this idea.  Karen at The Graphics Fairy has a million crazy cute graphics (for free) that would make perfect lunch companions.  I picked one of these...


...and made this adorable lunch bag for my someone special.


It wasn't too hard, either.  I changed my paper setting to 5"x10.5" -- the same as the bag.  The printer ate the first three.  Then I got brave enough to stick my hand in with the bag to guide it and, snap, it worked.  I still lost a few but for the most part, they came out perfect.  Just hand feed them, one at a time.


Warning:
I'm not really telling you to stick your hand in your printer -- I'm just telling you I did and I didn't feel a thing.


***

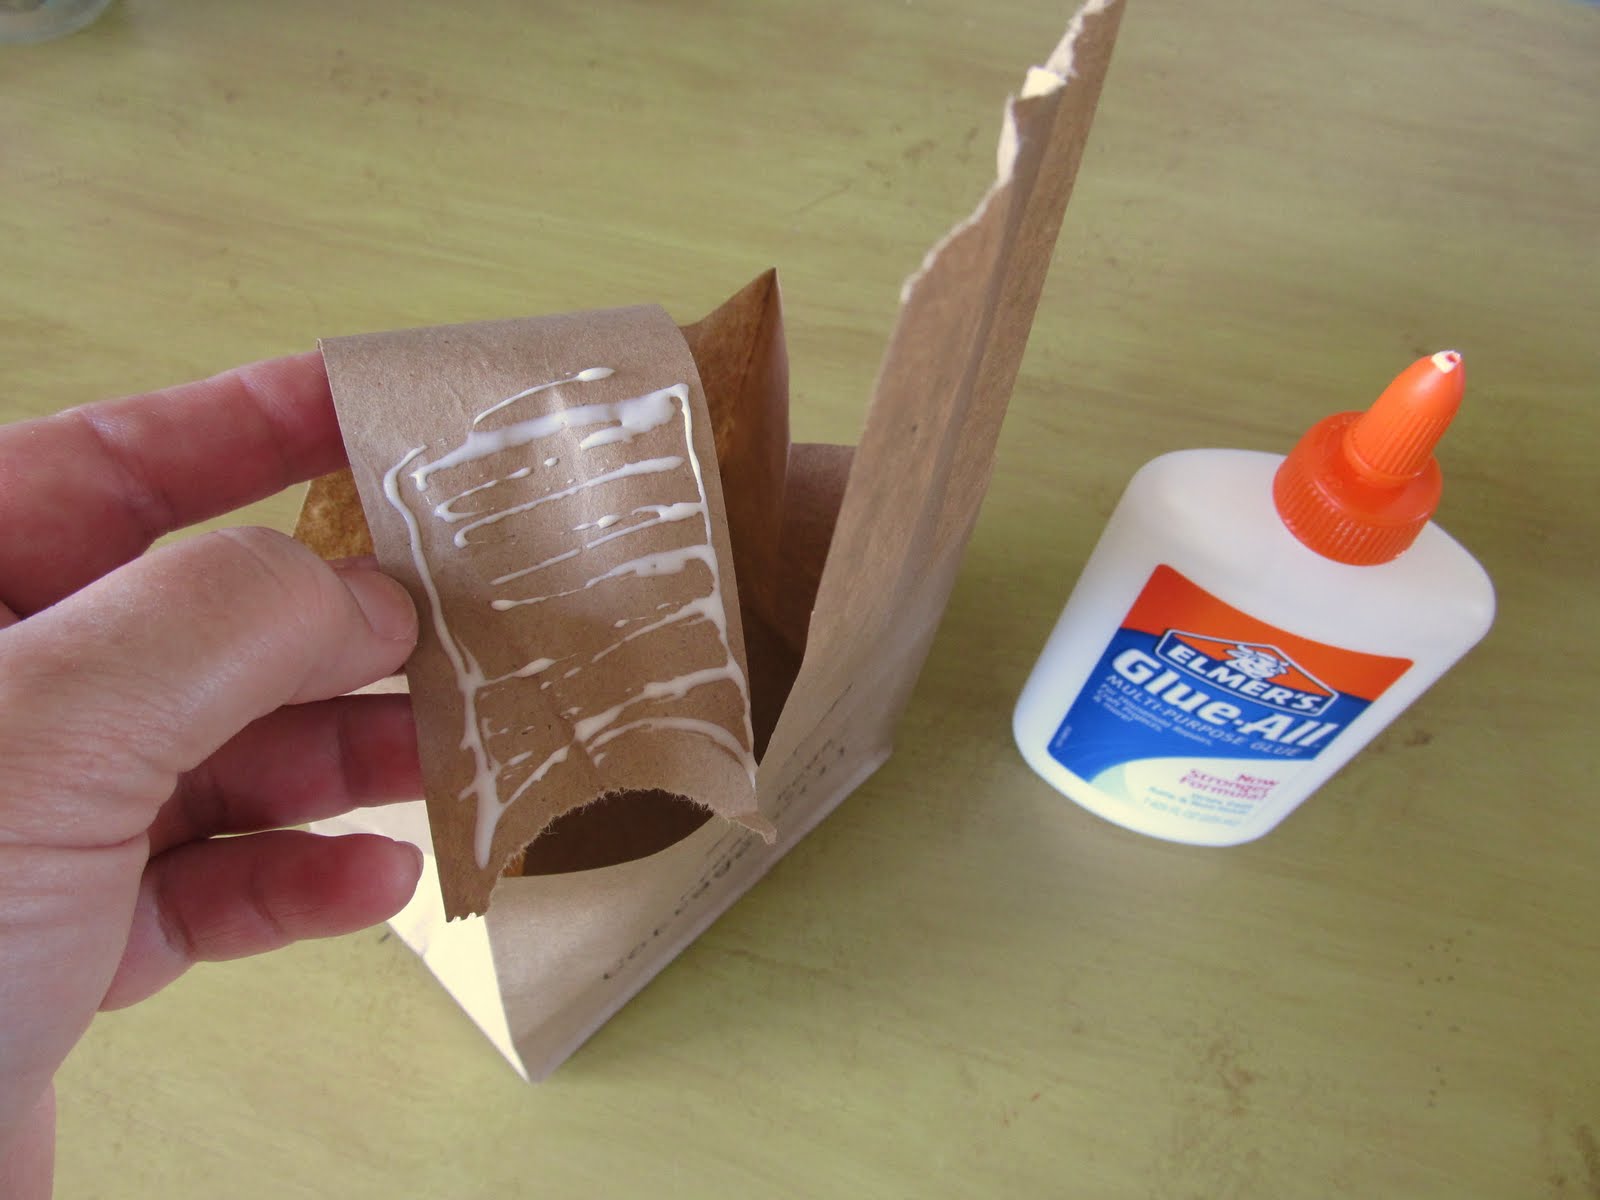
Here's how I make my little egg baskets...


So, how fun are these?


I can think of a million ways to use this idea -- how about you?


Come join the party @


If you enjoyed this post (and, gosh, I hope you did) please BECOME A FOLLOWER!

Wednesday, May 18, 2011

Super Simple Garden Bench

This super simple garden bench was made from lumber 
I pulled from my scrap pile. 


 The 4X4's were pressure treated.  The seat was a true 1X10x43 piece of cypress.  My only purchase was the two inexpensive plant hangers -- turned upside down.


You can do this...


You'll need two 32" long 4x4's.  Using post hole diggers dig holes about 16" deep and 24" apart.  Thank goodness I don't do this for a living -- I'd starve slam to death.  In fact, this might be a good time to appear helpless in order to attract some help.

Insert and test the posts to adjust the depth until the posts are the same height.  You want have 16 inches above ground and 16 inches below ground.  I used a level and laid it across the two posts to get them level.

 BTW, If you haven't been rescued by now, forget it, you're home free. 

Now, straighten the posts and pack the dirt back in around them.  You can use the handle of your shovel to pound the dirt in around the posts as you go.

Center the seat on top of the posts.  Screw down through the seat into the top of the two posts.  Use four screws in each post.


 Recycled sidewalk concrete was used to make the path and edging.


Now add your "brackets", stand back, and take a bow. 


 ***


If you enjoyed this post (and, gosh, I hope you did) please BECOME A FOLLOWER!