Showing posts with label Pillows. Show all posts

Monday, April 4, 2011

Re-pillowing (with video tutorial)


This is a good look -- if I may say so.


But, when we have guests over, they sometimes look around, like a deer in the headlights, for a place to sit.

I have to admit, with all those pillows, my sofa looks a little...well...complicated.
 

I decided to go for a cleaner look when I found this yard of fabric for around $5.  Jealous?  


I love the fabric with the rug -- the only real color or pattern in the room.

Using a queen sized down bed pillow I found at the "Maxx" for $14.99 and a scrap of bronze colored silk for trim, this ginormous pillow cost me around 20 smackers....what a deal!


Making the awesome trim is easy even if explaining it isn't.  

I cut 2-1/2" strips of silk 3 times as long as the length of trim I need when finished.  What on earth did I just say?  Let's try that again...

Say I need 1 yard of trim.  I would cut strips of fabric 2-1/2" wide and would need 3 yards of it when stitched end to end.  I hope that's better.


I fold the strip in half and stitch down the center, sewing little tucks in as I go. 


Grab some popcorn and watch the video for details.  
It's my first so I hope you enjoy it!!!


Once you get the hang of it, this goes really fast.  I was able to make enough trim for my pillow in about 10 minutes.  


Now you have the perfect 5/8" pleated trim with a perfect 5/8" flang for stitching.


Here's the new look...


If you enjoyed this post (and, gosh, I hope you did) please BECOME A FOLLOWER!

Tuesday, October 26, 2010

Paint-by-Number Pillow

This Bee Pillow is available in my Cottage Hill Store


Fess up--

I'll bet most of you painted something-by-number when you were a kid.  I did.  I think mine was a picture of a swan or something.  Anyway,  I thought I'd make a numbered pattern of a bee pillow for anyone who'd like to try it again.


Let's get started--

1.  Use painters canvas -- wash and dry to pre-shrink and soften.
2.  Cut two 19"x19" pieces.
3.  Print the pattern on legal size paper.  This is only half of the pattern.  Duh. You'll have to flip the pattern over (and possibly retrace the lines on the back with a Sharpie) to draw the opposite side.


Color Key:
                                                                      1 - black/brown
                                                                      2 - white
                                                                      3 - light blue
                                                                      4 - light brown
                                                                      5 - brown
                                                                      6 - light golden beige
                                                                      7 - rust
                                                                      8 - light gray

4.  Tape the pattern to a window.  The light from the window will help you see the pattern through the fabric.

 
5.  Tape one of the pieces of fabric over the pattern, centering the pattern under the fabric.  I drew an arrow at the center of the pattern.


6.  Trace the pattern onto the fabric.  I use colored pencils in colors close to the colors I'll be painting to make the drawing.  This way the drawn lines blend in and you don't have to worry about pencil lines.
7.  Trace the leaf design in the four corners of the fabric.


8.  Start painting.  I use acrylic craft paint when I paint on fabric.  I dip my brush in water and then mix a small amount of paint in.  It's better to use a light hand and watered down paint, building the paint up to get the look you want.  This project should have a soft, water color look so use lots of water.  This also keeps the painting from getting too stiff.


Tips -- I used less water in the paint for the smaller detail so there was no bleeding of the paint.  I added a little dark brown to suggest eyes.  I also dry brushed a little white over the top of the wings when all the paint was dry.  This made them look a little more transparent.


I'll be listing this pillow in my Etsy Store soon!!!


Here's to being a kid again!

*^*^*^*^*^*^*^*^*^*^*^*^*^*


If you enjoyed this post (and, gosh, I hope you did) please BECOME A FOLLOWER!

Friday, September 10, 2010

Hand Painted Silk Pillow - Day 3

Here's today's dining room project. 
 My hand painted silk pillow was inspired by Jan at  
*Bobbypins Boardwalk*  
and Jan's transfer pillow was inspired by 
vintage graphics she found at  
(I love how this blog hoppin' thing works)

I enlarged this graphic I found at The Graphic Fairy and traced it right off my computer screen.  I slipped it under the silk (which I could see through) and pinned it in place for a pattern.


If you don't follow the Graphics Fairy you don't know 
what you're missing...
You'll find over 1,400 FREE Clip Art images that you can use for craft projects, collage, DIY, scrapbooking, and web design! 
Karen's been adding vintage image downloads every day since 2007.
 *
What's up next with my dining room nip and tuck? 
I think a unique monogram is in order... 


*^*^*^*^*^*^*^*^*^*^*^

*To see the parties I link to and to join in the fun, CLICK HERE!
I love to display the parties I'm attending 
on my post the day of the party!
I'm linking up to--


If you enjoyed this post (and, gosh, I hope you did) please BECOME A FOLLOWER!

Monday, August 30, 2010

Pretty Little Pillow

I filed this idea for a pillow away in my head a while ago.  


Oh man, if you're an idea – you DO NOT want 
to be filed in my head.  All sorts of things 
could happen to you there.  
You could languish, forever, waiting to be used.  
You could fade with time, or get lost completely...

I know it happens to all of us but it happens to me a lot!

But finally, years after I first had this idea I remembered it,
  I'm done.  Did it today.  
And I must say I'm pleased. 


Here’s how it’s done...

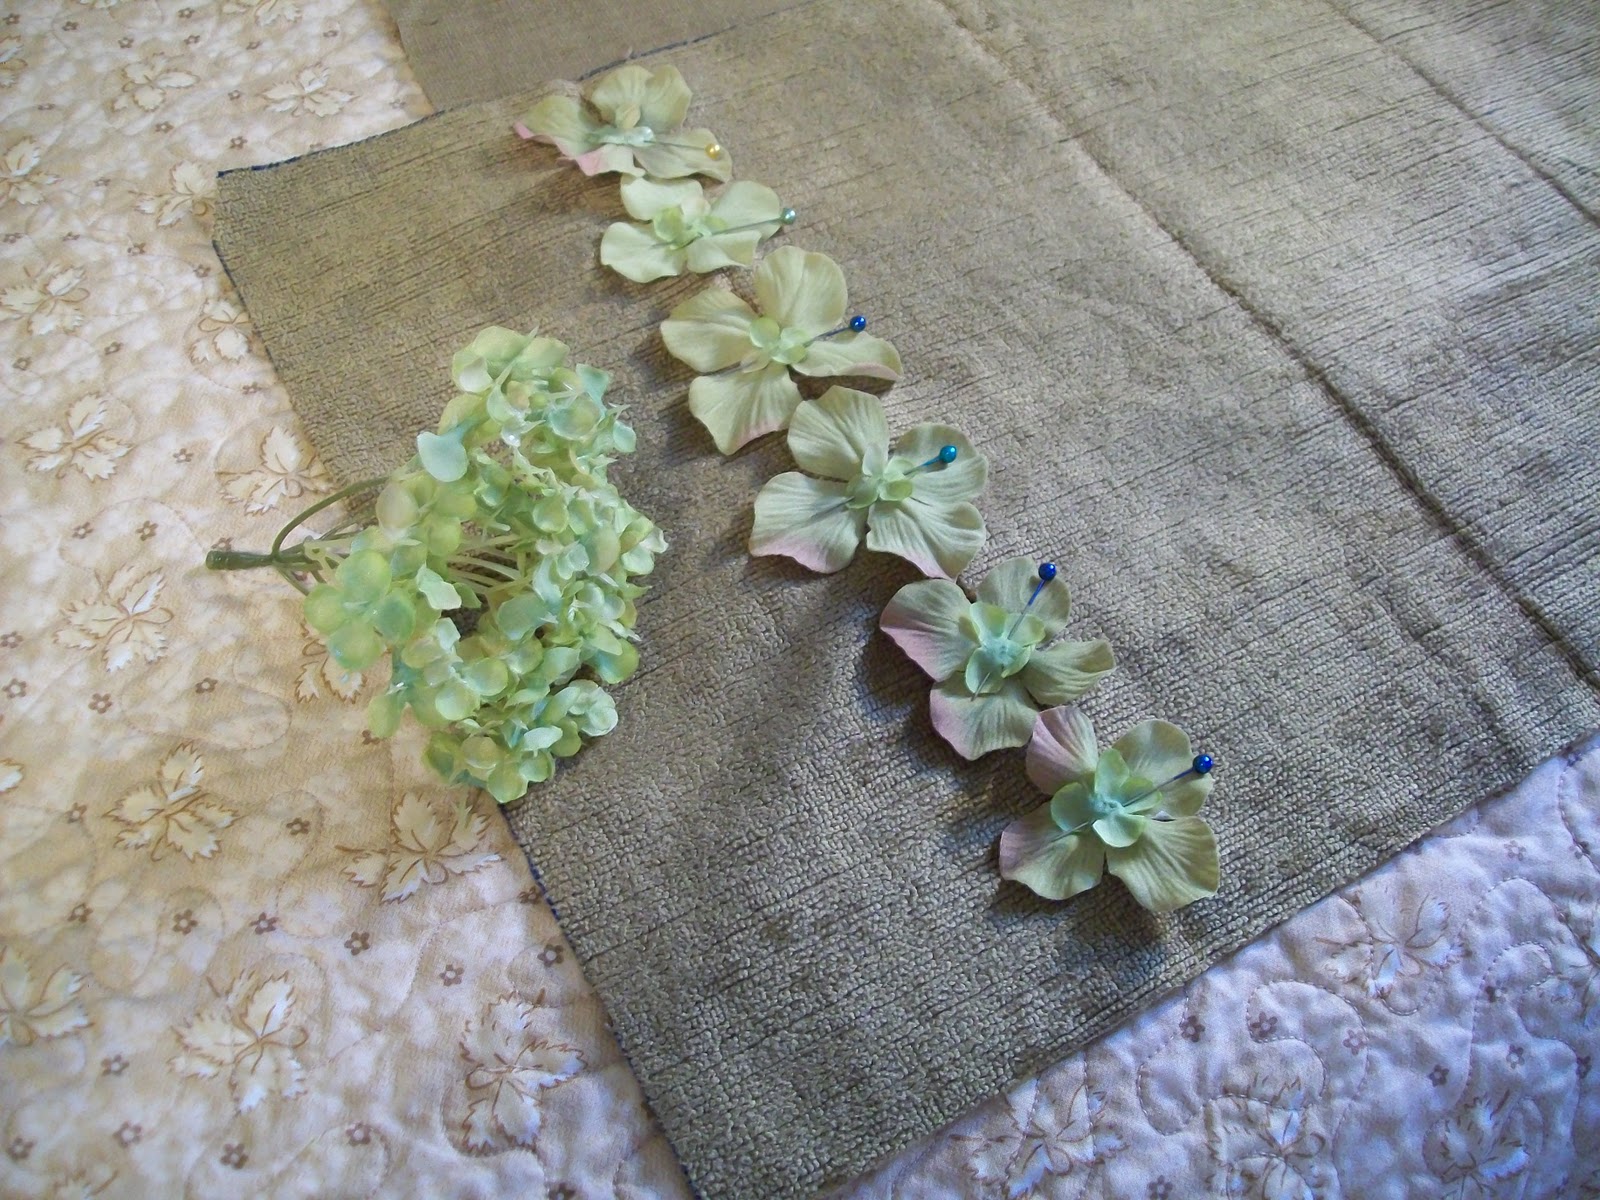
  • Remove the flowers from the stems of silk flowers.  I think just about any kind will work.  I used two sizes – the main petals and a smaller one that helps cover the hole in the larger one and adds some dimension to the flowers.


    • Cut 2 pieces of fabric 12”x18” for the front and back of the pillow.
    • Mark where you want to stitch your petals.  I press my lines onto the fabric with an iron or you can use a marker.


    • Pin and stitch petals in place. You could use fabric glue instead.  I wanted to be able to see my stitching on this one.


    • Pinning right sides together, stitch around the outside edge of pillow 1/2” from edge leaving an opening to stuff pillow.
    • Clip corners and turn pillow.
    • Stuff pillow and stitch opening closed.


    • I'm in the mood for some new pillows 
      (in lieu of new upholstery) in the  living room
        -- it's time for a change. I'll be digging through some old fabric I have to see what else I can come up with.

      *^*^*^*^*^*^*^*^*^*^*^*^*^*^*^*^*
      *To see the parties I link to and to join in the fun, CLICK HERE!


    If you enjoyed this post (and, gosh, I hope you did) please BECOME A FOLLOWER!