
I save seeds each year from my cutting garden for the next year. These are some of my favorites...

Peppermint Zinnias

Assorted Zinnias

I've started some flower seeds today. I'm thinking I should have done this sooner but.....well......wait a minute.......I'm thinking........
I made newspaper pots to sow them in and get them started. The pots are super easy to make, free, and earth friendly. And once your seedlings are old enough to move out on their own you just pop them into the ground -- paper pot and all.
I made newspaper pots to sow them in and get them started. The pots are super easy to make, free, and earth friendly. And once your seedlings are old enough to move out on their own you just pop them into the ground -- paper pot and all.

You could get fancy (and expensive) with this project. Purchased newspaper pot makers cost $25 or more. Sure, they're cute...
 |
| Fancy Newspaper Pot Maker |
But they don't really make sense when I can whip out a can of Campbell's Soup that'll do the job for free and later sacrifice itself for dinner.

Recycled Newspaper Pot How To
Tear a single sheet of newspaper in half and fold in thirds.


Wrap the paper around the can about 1/4" from the top edge. Not too tight -- you're going to have to slip it off.
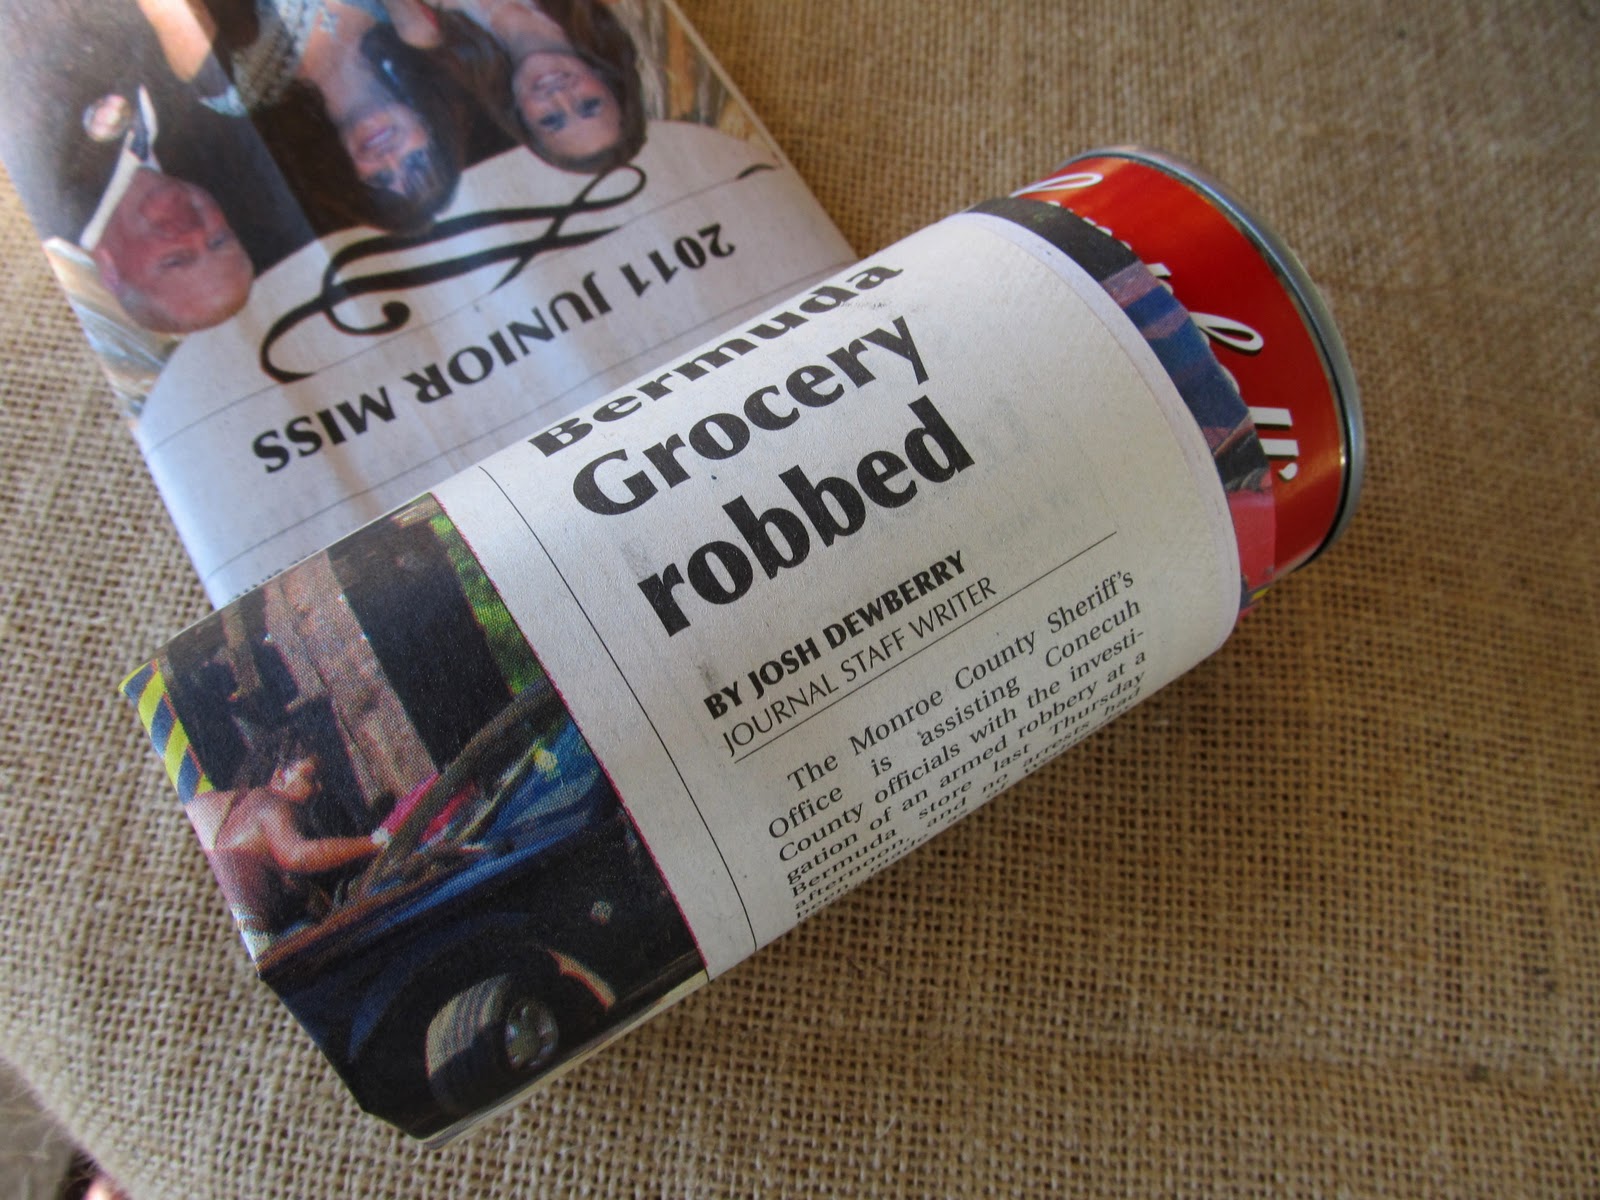 |
| Funny headline! I said the pots were free -- not the soup! |
Secure with tape.

Fold the bottom edge in like this...

then this...

Keep folding...

...and folding.

Secure with tape and slip it off the can.
 |
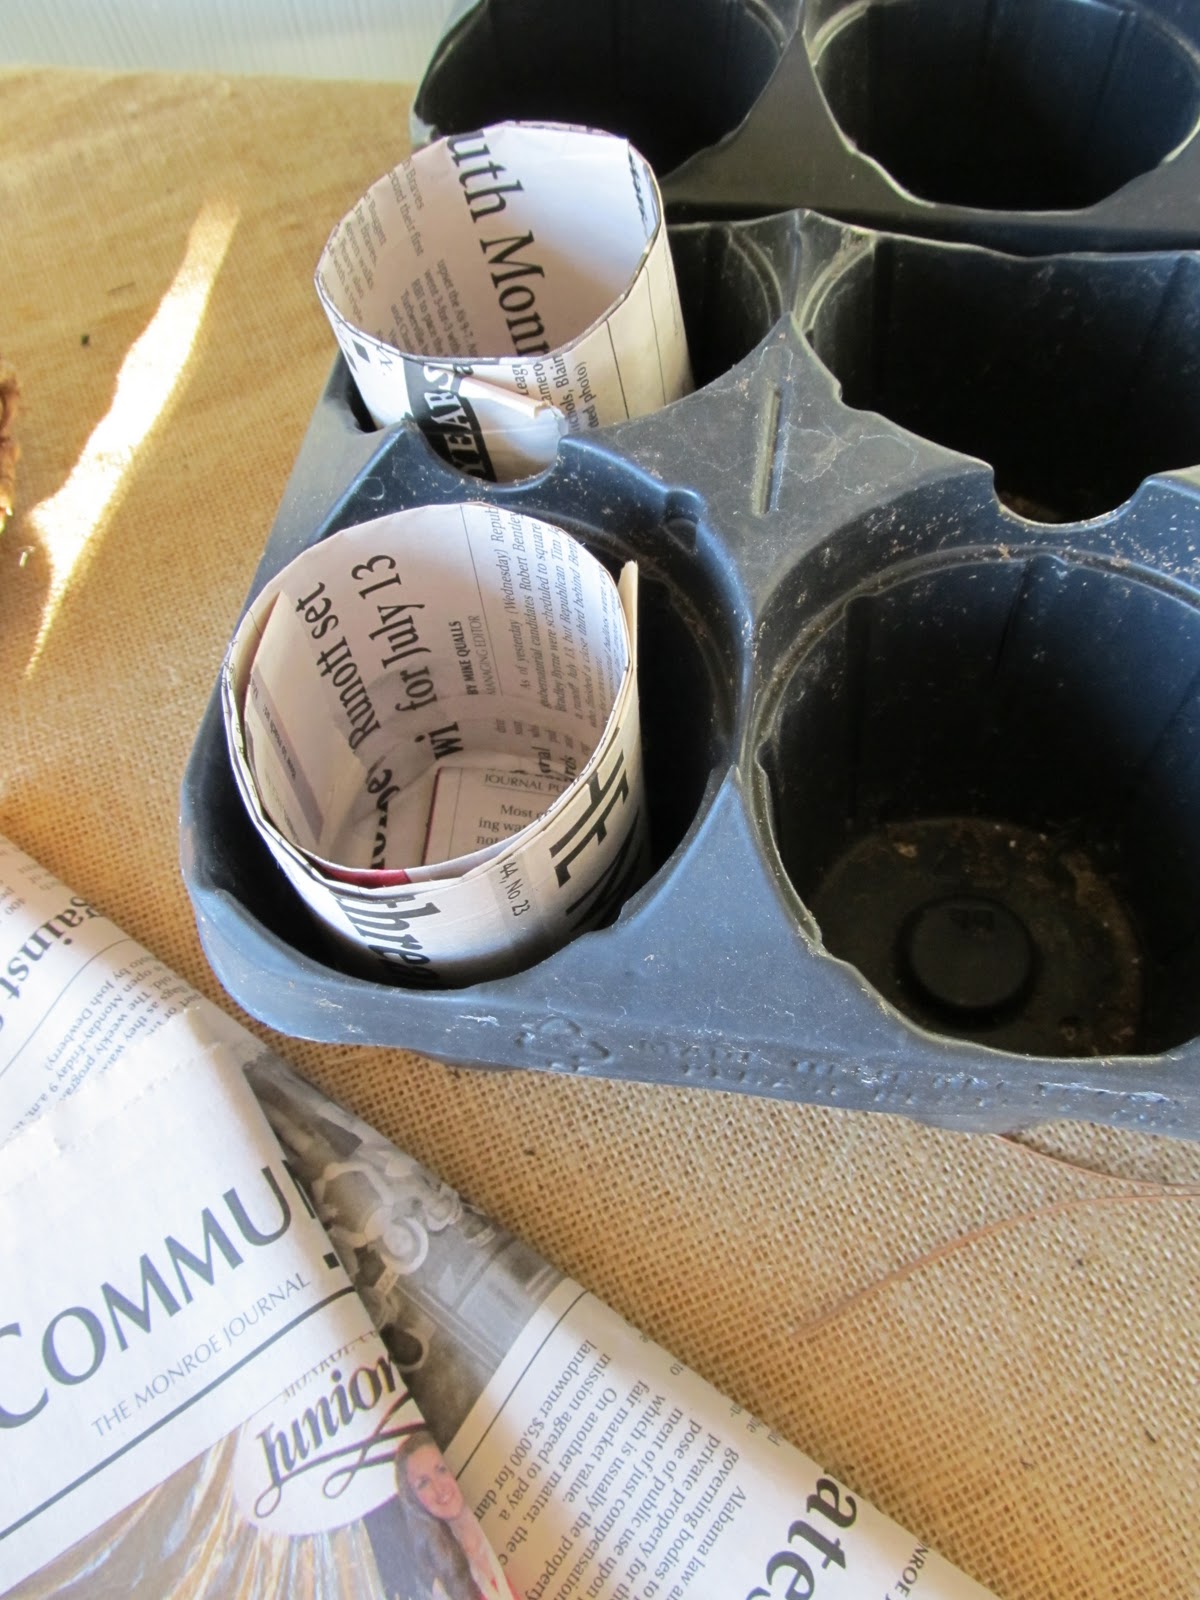

I fill the pots with dirt (also free) from my compost bin and keep the seedlings moist, not soggy, until they're ready to plant, pot and all.

Here's a couple of cute options...

Happy Gardening!!!

*

Here's a couple of cute options...

Happy Gardening!!!
*

If you enjoyed this post (and, gosh, I hope you did) please BECOME A FOLLOWER!

I love love love this idea!!! If you don't mind, I plan to share it (along with your blog) with my readers this week. We plan to purchase another home this year and this idea will be so handy for my raised veggie beds!
ReplyDeleteI much prefer your soup can option as opposed to the more expensive wooden pot maker. Your flowers look absolutely lovely, especially those peppermint zinnias!
ReplyDeleteI use the soup can too, just the right size. Love the zinnias.
ReplyDeleteGreat tutorial! I haven't tried this yet, but just bought canning cuke seeds today! Happy gardening:@)
ReplyDeleteMy neighbor does the same thing ever year with seeds. Your zinnias are so pretty! Love the little vignette you created on your counter! Martina
ReplyDeleteWhat a neat idea! Great little gardening gifts!
ReplyDeleteMindy-
ReplyDeleteYou're right -- they would make great little gifts!
the peppermint zinnias are lovely~thanks for the planting lesson. I will make some to give to my gardening friends!
ReplyDeleteNo that's creative...Great idea!
ReplyDeleteGreat idea. Love zinnias. So they're friendly like. Gonna have to find me some peppermint ones though. I've never seen those kind. Take care and thanks for the paper pot idea. Too late here. I'll just sow into the ground.
ReplyDeleteHugs~ Amanda
I love your zinnia's...... peppermint stripe is so cute !!! Thanks for the great idea ...I saw another one that uses the cardboard toilet paper rolls, you just cut about an inch or so up one side about 5 times around one end and fold the strips in to make the bottom. Just another idea !!! I will try both yours and the toilet rolls.
ReplyDeleteLove your newpaper pot, it's MUCH easier than the one I've started making...am making a switch. I'm female...so it's okay, right? The Pepperming Zinnias are beautiful, do you know where others might be able to purchase them? Thanks again for the information.
ReplyDeleteHave a God Filled Day
Shirley
This is great, I'm so ready for planting and this makes it cheap and fun.
ReplyDeleteLinda -
ReplyDeleteI love the toilet paper roll idea! Got to start saving up on em!
Shirley-
I got my first pack at Lowes several years ago and I've just saved my seed since. Have you seen how expensive seeds are these days?
Lindy
That is so cool! How come I've never seen that before! Thanks for sharing.
ReplyDeleteDon't you love those? I also start seeds in hollowed out egg shells when I am ambitious enough to crack my eggs that way...and I use the fiberboard egg cartons too for small seedlings. Love these little pots!!! xxoo Diana
ReplyDeleteI'm so freakin' loving this idea. And your timing is absolutely perfect. I just started some seeds in left over tiny plastic sample containers we got from my husband's older brother, and I and our 3 1/2 year old daughter planted the seeds just 3 days ago (in New Brunswick, Canada summer comes MUCH later) and I was wondering what on earth I could put them in when they get a bit bigger, but not big enough to plant outdoors. This will be absolutely PERFECT. And it's free. Gotta love that! I'm already a follower and would love to have you follow back! I'm going to include this in a post of mine in my blog. Thanks again!
ReplyDeleteYour zinnias are beautiful. I had never heard of newspaper pots, but they sounds like such a neat idea.
ReplyDeleteIt's great to have you being a part of Seasonal Sundays.
- The Tablescaper
I've never seen those zinnias before. Just beautiful. What a great idea for the pots!
ReplyDeleteNow this is an idea I'll take and run with. Thank you! How clever and thrifty. ~ Sarah
ReplyDeleteLindy thanks so much for stopping by and leaving me such a sweet comment and becoming a follower I really appreciate it! I am already a follower of your blog and beautiful home, and always look forward to seeing what your up to next!! Martina
ReplyDeleteThanks girly, I totally want to make these, I love recycling, and this is perfect. Thanks tomato soup for helping us out, he he.
ReplyDeleteHugs,
Bella :) Bella Before and After
So just wondering how exactly do you get the seeds out, you cut the flower, and THEN you get the seeds after it dries, or do you let it dry on the plant???
@Bella
ReplyDeleteBella -
I let the flower dry on the plant but not so long as it starts to fall apart. I store the flowers, whole, in an envelope so they can breath. The seeds are in the center and when you break them apart there will be dozens (or hundreds)of tiny seeds. If you're not sure how deep to plant a certain type of seed you can always google it. Good luck!
Love the peppermint zinnias ~ how adorable. Love Love Love the paper pots. Thank you for the how to. I am definitely going to have to do this. ;-)
ReplyDeleteWhat a great idea!! I love this and will definitely be doing this in my garden this year! So cool!
ReplyDeleteHugs and thanks
SueAnn
Great idea Lindy...I have seen them before but never made this way, so easy. Thank you. I love the striped zinnias, I am definately going to look for those seeds.
ReplyDeleteWonderful idea. I love the Zinnias. They are beautiful.
ReplyDeleteSpring is springing and I love the newspaper pots! what a great idea. i'm a zinnia fan, too ... reminds me of my granny.
ReplyDeleteThose peppermint zinnias are to die for! I just featured them in a post over on my blog - I can't wait to find some for my own yard. Thank you for sharing them with us!
ReplyDeleteThat is a fabulous idea!
ReplyDeleteWhat a wonderful idea!! I was just starting to think about seeds and what I was going to do (late, I know). I love this!
ReplyDeleteWe are planting seeds this weekend and this is AMAZING! Thank you so much for the directions!
ReplyDeleteLindy, you have such great ideas!
ReplyDeleteBrenda
I love this idea. It will make spring all the more fun! Thanks!
ReplyDeleteOk, I'm pretty sure I might die now if i don't have peppermint zinnias! They're precious! and your little paper pots are the greatest!
ReplyDeleteCindy
Lindy, You are so creative! This is a fabulous idea and one I have to copy. Thanks.
ReplyDeleteHugs,
Sherry
Ohhhhhhhh, peppermint zinnias! Delightful! And your little paper pots too cool. I bet your gardens are gorgeous.
ReplyDeleteHugs,
Olivia
Zinnias are one of my faves! Thanks for the awesome idea! I'm your neighbor over at Between Naps! :)
ReplyDeleteI'd love for you to link up at Inspire Me Mondays!
ReplyDeletehttp://singingthreelittlebirds.blogspot.com/2011/03/inspire-me-monday_21.html
Lindy, great suggestion. I'll have to give this a try. I use peat containers for my seeds, but this is an awesome idea and a great way to reuse paper that I'd just send into the recycling bin anyway.
ReplyDeleteWhat a great idea! I almost bought something similar at the garden store yesterday and am so glad I didn't! Found your blog from BNOTP and am your newest follower.
ReplyDeleteI made these last year and so easy to just put in the ground. Will be doing it again soon! Great info! Hugs, Terri
ReplyDeleteWhat a great idea. I am going to make these. Thanks for sharing. Karie
ReplyDeletewhat a great idea to make pots like that. I dont recall ever seeing any peppermint zinnias.. they are so pretty. I'd love to find some.
ReplyDeleteThis is a fabulous and smart idea. We are about to start sunflowers seed so thanks bunches!
ReplyDeleteGreat tip! I'll have to remember this for next year, I've already started my seeds this year. :) I can't wait for my flowers, too!!!
ReplyDeleteThanks for sharing. Love the idea and nearly bought one of the wooden things that do it for you - now I dont have too!
ReplyDeleteI'm SO DOING THIS. *nina adds another item on to-do list...
ReplyDeleteWonderful idea. Thank you for sharing!
ReplyDeleteWe always have a bit of brown paper lurking about leftover from wrapping packages. We'll give it a go with this to see how it works.
Thank you for this tutorial! I loved it. Your peppermint zinnias are so pretty. Happy gardening!
ReplyDeleteI kind of want to get the paper again, just so I can do this.
ReplyDeleteNow I am thinking this would be a great Easter gift for my family members coming for Easter dinner. Hopefully if I start right now they will be ready to give Easter day. I adore this idea and thank you for sharing. A new follower here. xo
ReplyDeleteP.S. And I saved my candy striped zinnia seeds from last year. Love them.
I love when people are creative and upcycle! I used toilet paper and paper towel tubes for my seedlings this year.
ReplyDeleteWhat a great idea! I've already got little starters, but most of them are ready for their individual pots and I've been thinking about how I would go about it this year. Usually I by the eco friendly pots you can burry, but your idea would save me some money! So glad I have thrown my newspapers out yet! Thanks for sharing!
ReplyDelete@Jules
ReplyDeleteI meant to say "so glad I HAVEN'T thrown my newspapers away."
AWESOME!!! I'm totally going to do this with my kids this week!! Thanks for the great tutorial!!
ReplyDeleteI'm totally doing this!!! Great idea and money saver :)
ReplyDeleteThat is so clever!!
ReplyDeleteI wish I had seen this just one week earlier. But I will definitely remember it for next year!
That's a fabulous idea. I've never started flowers from seeds in the house. I'll give it a try next year.
ReplyDeleteLindy these are wonderful, I love true Gardner's tips, meaning things that seem as though they've been around forever, but always look so charming. Love the lamp!
ReplyDeleteGlorious idea! I'm using this one!
ReplyDeleteYvonne
Love this idea...hubby and I have been discussing various ways to go about getting A LOT of pots cheaply to do our seedlings...This is perfect...Thank you for sharing
ReplyDeleteBlessings Kelsie
Can't wait to try this!
ReplyDeleteMan this is great! I just ALMOST bought some peat pots at WMart -- so glad I didn't! Thanks so much!
ReplyDeleteLove it! way to spread the recycling love. Great idea.
ReplyDeleteOhh great idea! I am a seed starting junkie right now too. I love those peppermint zinnas! Let me know if you ever want to do a seed swap. Those are gorgeous!
ReplyDeletewhat a fabulous idea!!
ReplyDeleteWhat a great idea! Thank you for sharing!
ReplyDeletePERFECT!
ReplyDeleteSo nice to know there is a "green" way to plant! I do I do I do like this post! :)
Hi Lindy, Thanks for sharing this great idea at my party. A friend mentioned to me today that she saw this post and loved the idea. She is making these for her sisters and putting them in a Easter basket.
ReplyDeleteHugs,
Sherry
Hi Lindy...
ReplyDeleteWhat a great idea, my friend! Thank you for the tutorial on how to make these earth friendly seed pots! They really are quick and easy! Girlfriend, I love your peppermint zinnias...sooo pretty!
Warmest spring wishes,
Chari @Happy To Design
Lindy,
ReplyDeleteThat is a great idea
I just got a ton of Zinnia seeds!!
Come on spring!
You are so resourceful!
ReplyDeleteWhat a clever tutorial! We are really jazzed at all the fine quality products you listed, including that VOC-free paint, Mythic. Don't have room for another lamp! But we liked the tutorial on how to decorate one of our existing ones.
ReplyDeleteSo Thank You!
Rose & Studio Friends
Excellent post and idea. Love this.
ReplyDeletefound you via the weekend wrap up.
What an awesome idea! Thanks for sharing! Found your blog on TT&J weekend party.
ReplyDeleteGreat tute and I LOVE ZINNIAS! They are so cheerful, easy to grow, and bloom for so long! I live in Ga, so it's super hot here. Zinnias grow really well. I started seeds a few weeks back, in seed starters as usual. Will do this next year though.
ReplyDeleteI started candy cane zinnias, and tequila lime. The lime ones aren't coming up as well. Have you experienced this? What varieties work best for you?
Thanks for any feedback that you may have!
This is so clever, Lindy! They're not only organic but really neat to look at. And something anyone has the goods to create.
ReplyDeleteI've featured this on SNS #74 FJI Facebook. :)
http://www.facebook.com/pages/Funky-Junk-Interiors/175378011140#!/photo.php?fbid=10150168751021141&set=a.192514281140.164586.175378011140&theater
Donna
I wish I had a green thumb. I attempt gardening and it just doesn't turn out well for the poor plants. I give them a fighting chance with someone else now. But I love this resourceful idea.
ReplyDeleteNot only are those cute to look at, they are a great idea! I'm featuring this at somedaycrafts.blogspot.com
ReplyDeleteJust wanted to show you my attempt at making your pots. Love the idea and I plan on making many more.
ReplyDeletehttp://kasbn07.blogspot.com/2011/03/recycled-newspaper-pots.html
How PERFECT for this time of year!! This turned out great, I am featuring it as part of my Idea List today!
ReplyDeletewww.StashHappy.com
I thoroughly enjoy your sense of humor and of course your amazing talent!
ReplyDeleteOkay, so your head is just completely LOADED with great ideas!!! Where do you come up with all this stuff? You must be genius. Thanks for sharing...yet again!!! :)
ReplyDeleteYou know how I love love love sharing you with my readers. And I do hope some of them have become followers of yours! Here's the lates shout out!!
ReplyDeletehttp://www.tvguide.com/News/VIDEO-Glee-Skit-1027073.aspx
I discovered your blog from My Repurposed Life. I've always wanted to try newspaper pots to plant our seedlings. Thank you for such a complete tutorial. i can't wait to try it.
ReplyDeleteThanx for this amazing tutorial!!!
ReplyDeleteI love this idea!
ReplyDeletegreat idea. i'll have to try this...
ReplyDeletekelly
Hi lindy
ReplyDeletethis is a great idea... I love it. Now I found a use for my son's shuttle cock containers....I can cut it into three pieces and plant my seeds...