Showing posts with label Dining Room. Show all posts

Monday, May 16, 2011

Hand Stenciled Zebra Print Fabric

Even though spray paint was technically invented in 1949 by a man, Edward Seymour, it was his wife Bonnie who asked him to come up with it. 

It wasn't clear what she hoped to do with her paint in a can but my guess is it wasn't painting fabric for her dining room chairs.  


But, why not?  I was tired of the fabric on my dining room chairs.  I paid $50 a yard for it so I've had to 
live with it (and myself) for a long time.  


I was in love with a fabric and a color that existed only in my head.  I'd have to create it myself.  

I'm lovin' my new look...


And, what's not to love?  The new fabric was cheap (painted on drop cloth fabric with 2 cans of spray paint) and easy.


***
 
The zebra like stencil pattern was cut from poster board and the back side was coated with spray adhesive.

The stencil was pressed onto the fabric.


 I used the darker bronze color first.  It's a metallic but it doesn't look metallic on fabric, thank goodness.  I sprayed it on lightly -- not saturating the fabric so it wouldn't be stiff. 

Then, I used the avocado paint to get the illusive color I was looking for.
 ***


 Hot dog!

I'm showing this project off here...


If you enjoyed this post (and, gosh, I hope you did) please BECOME A FOLLOWER!

Wednesday, December 15, 2010

Wishes Do Come True


Sometimes I wish for silly things.  Today, while putting together the Christmas buffet and playing around making the W-I-S-H banner, was one of those times.


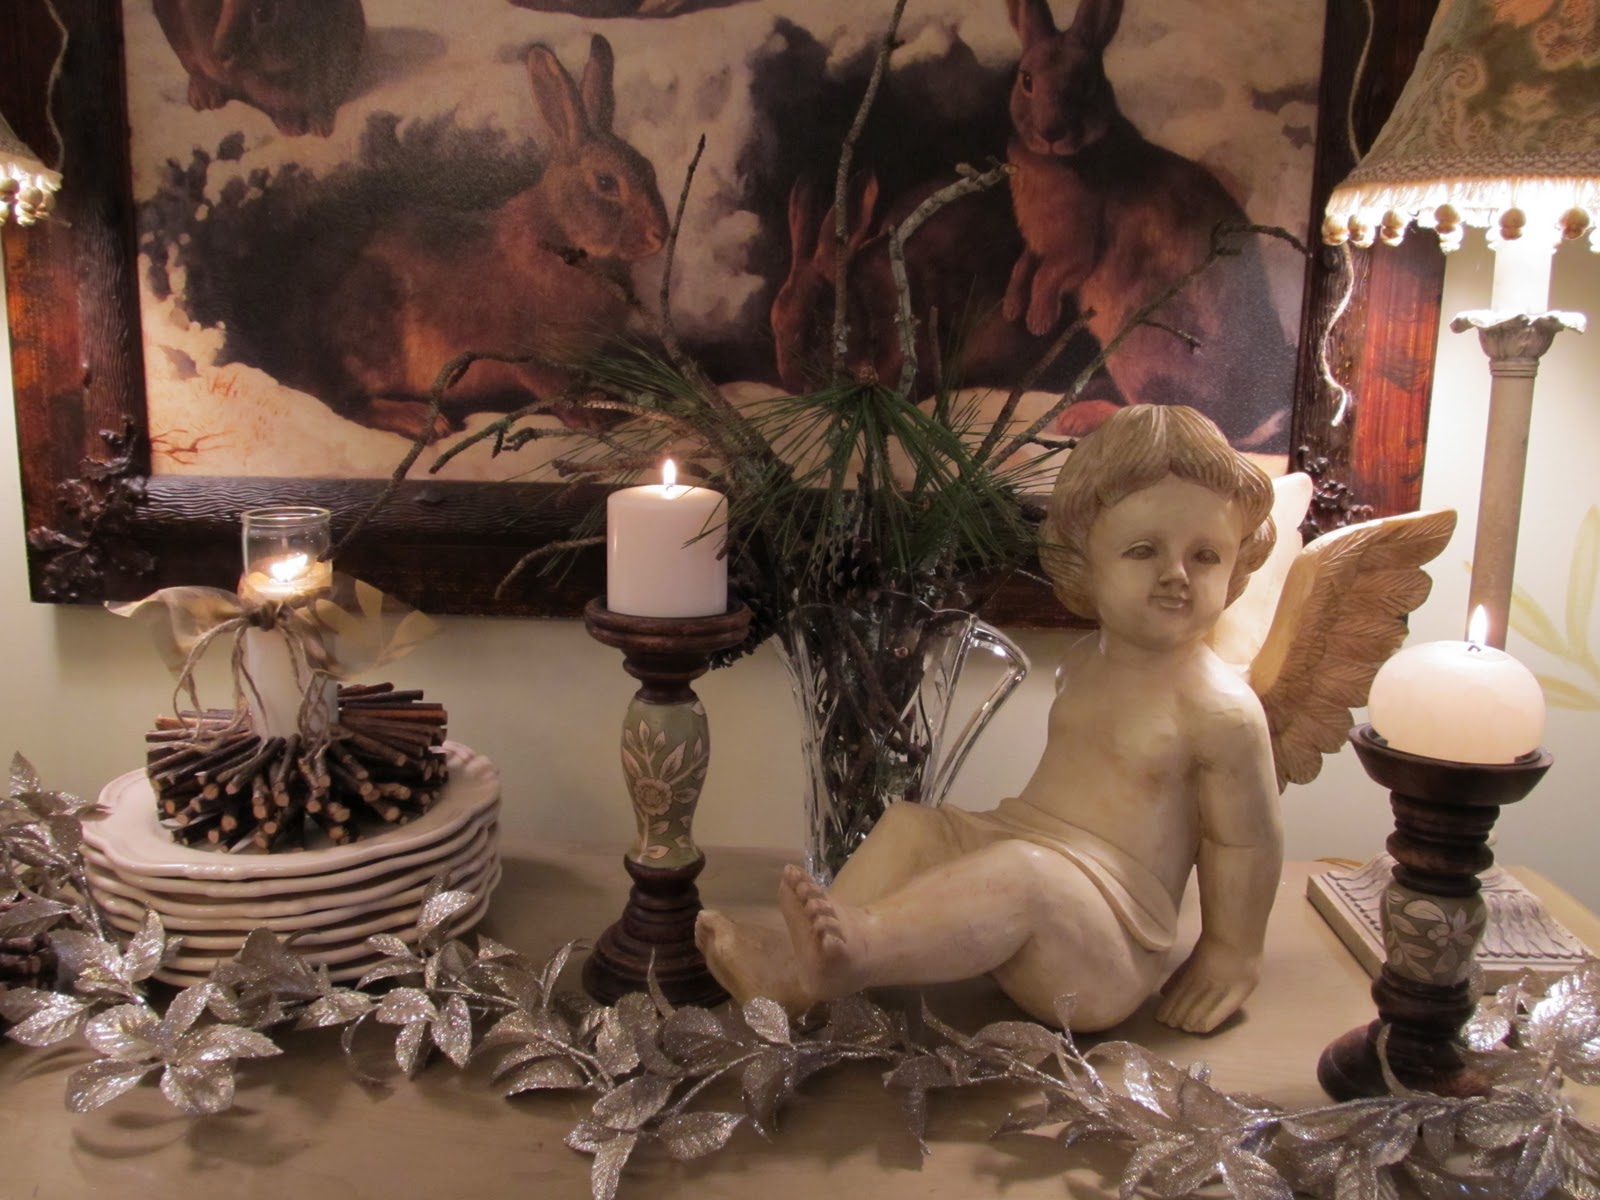
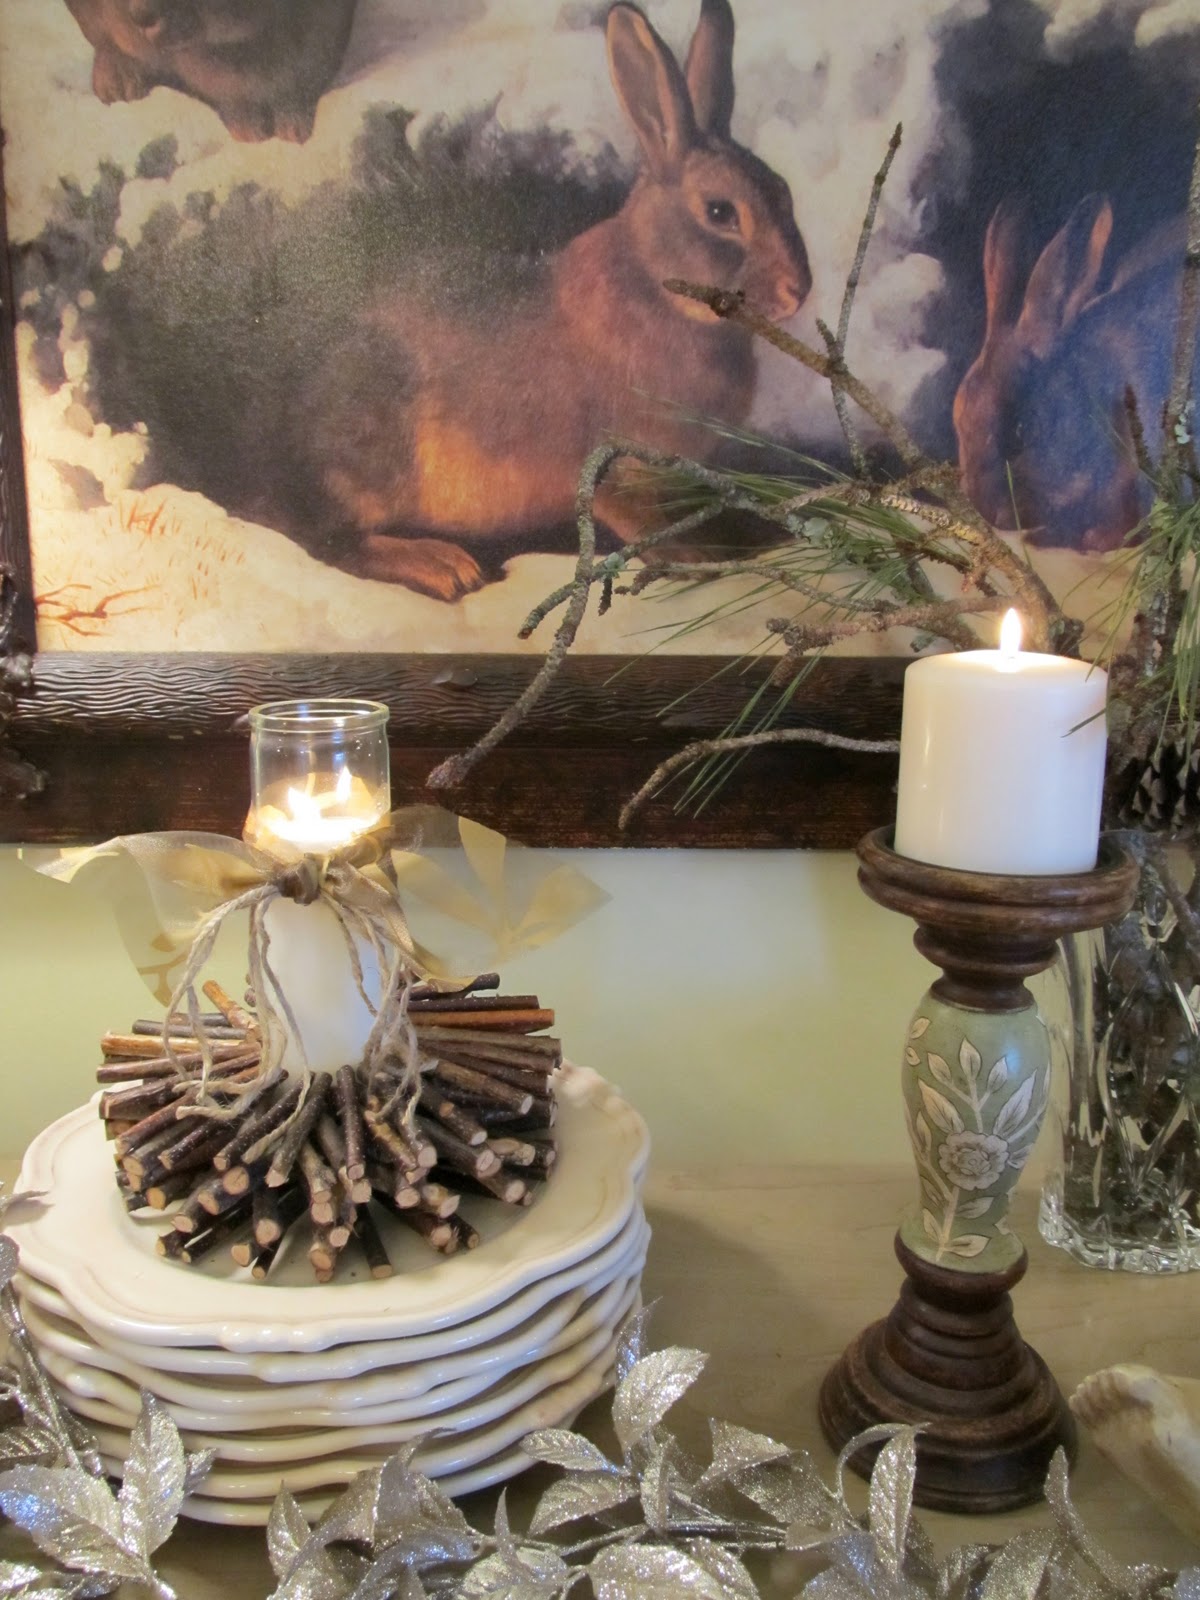
First, I wished I had been the one to paint these little bunnies.  I'm not beating myself up for that one because, well, who wouldn't.  And, hey, I did snag this print on canvas for just $20.  I was only going to use the frame but when I got it home I had a better idea.

Before the "S" was set right
  
Then I wished I hadn't hung that "S" upside downwards... I'm still wishing that one. 
After the "S" was set right

 I wished I could, just once, use a glue gun without burning myself.
I wished glitter only stuck to things you wanted it to.
And, I wished I could remember my glasses were (still) on the top of my head.
I even wished I was taller.
Oh, and seriously, I wished for world peace.


Just one more wish...I wish every project, like this one, turned out to look just like the picture I had in my head.


*


If you enjoyed this post (and, gosh, I hope you did) please BECOME A FOLLOWER!

Wednesday, October 6, 2010

Fall is in the thrift stores!

So, the a-kerns are done and the temp (thank heavens) has 
dropped and I'm ready for a little fall something - something.  
I hit a few thrift stores last week just to see if I could pull something interesting together using only what junk I could find and by shopping my house.  Here are the results.....


I found the little home-make squirrel box first.  
Isn't it the cutest thing?  
It, the basket, the wooden box, the books and the 
picture frame were only $1 each.  The glass jar was 
a whoppin' $3 and the leaf wall shelf (turned upside down 
and used as a bookend) was only $2.  I shopped the yard 
and the house for everything else -- free!


 I changed the picture in the frame out for a piece of burlap 
and leaf cut out of a page in an old book.
Leaf pattern and tutorial --  *click here*.


Happy Fall!
 
*^*^*^*^*^*^*^*^*^*^*
*To see the PARTIES I link to and to join in the fun,
CLICK HERE 
or check out my sweet hostesses on my sidebar!

*^*^*^*^*^*^*^*^*^*^*^*


Please *click here* and take a look around 
my Etsy Store...


  *^*^*^*^*^*^*^*^*^*


If you enjoyed this post (and, gosh, I hope you did) please BECOME A FOLLOWER!

Monday, October 4, 2010

Jingle Bells Turned Acorns? -- Sure!

It's amazing the things you'll tell in a blog that you wouldn't even want your next of kin to know, but, here goes... When I saw these huge jingle bells for $2.49 at Goodwill I immediately thought ACORNS!  


Nuts, I know.  You've got to be wondering about me but this is just how my mind works, when it's working-- always looking at 
things in a "different" way and then 
(I couldn't stop myself if I wanted to) acting on it.  


I bought the bells along with all these other treasures, for about $15, at thrift stores, to put together a fall look for my house.  My next post, I'll show what I did with all this stuff!


Let's get started...
  1. Tear a lunch bag into small pieces.
 2.  Using Mod Podge, coat small areas at a time, put a piece of paper on the area you coated,

      and brush on another coat of Mod Podge.  Repeat this process, overlapping the paper,
      until the bells are completely covered.  WARNING--This made one sticky mess.
 3.  After the bell is dry, add a "dot" of hot glue to the bottom of the acorn.  Once cooled, cover
      with paper the same as before.  This can't be done before the bell is covered because of the
      holes in the bottom of the bell.

 4.  Using dark brown acrylic craft paint, paint the "caps" of the acorn. 
5.   Using antique gold acrylic craft paint, paint random X's on the cap.


6.   Cut pieces of twig about 1/2" long and hot glue to top of cap.

And, there you have it...


My guess is, there are gobs of creative folks out there who think exactly the same way I do, saying to themselves, "I love that, now how can I change it!".  Leave me a comment and fess up!

******************************

Please *click here* and take a look around...


**************

*To see the parties I link to and to join in the fun, CLICK HERE!
I love to display the parties I'm attending 
on my post the day of the party!
I'm linking up to--


If you enjoyed this post (and, gosh, I hope you did) please BECOME A FOLLOWER!